Currently Empty: $0.00
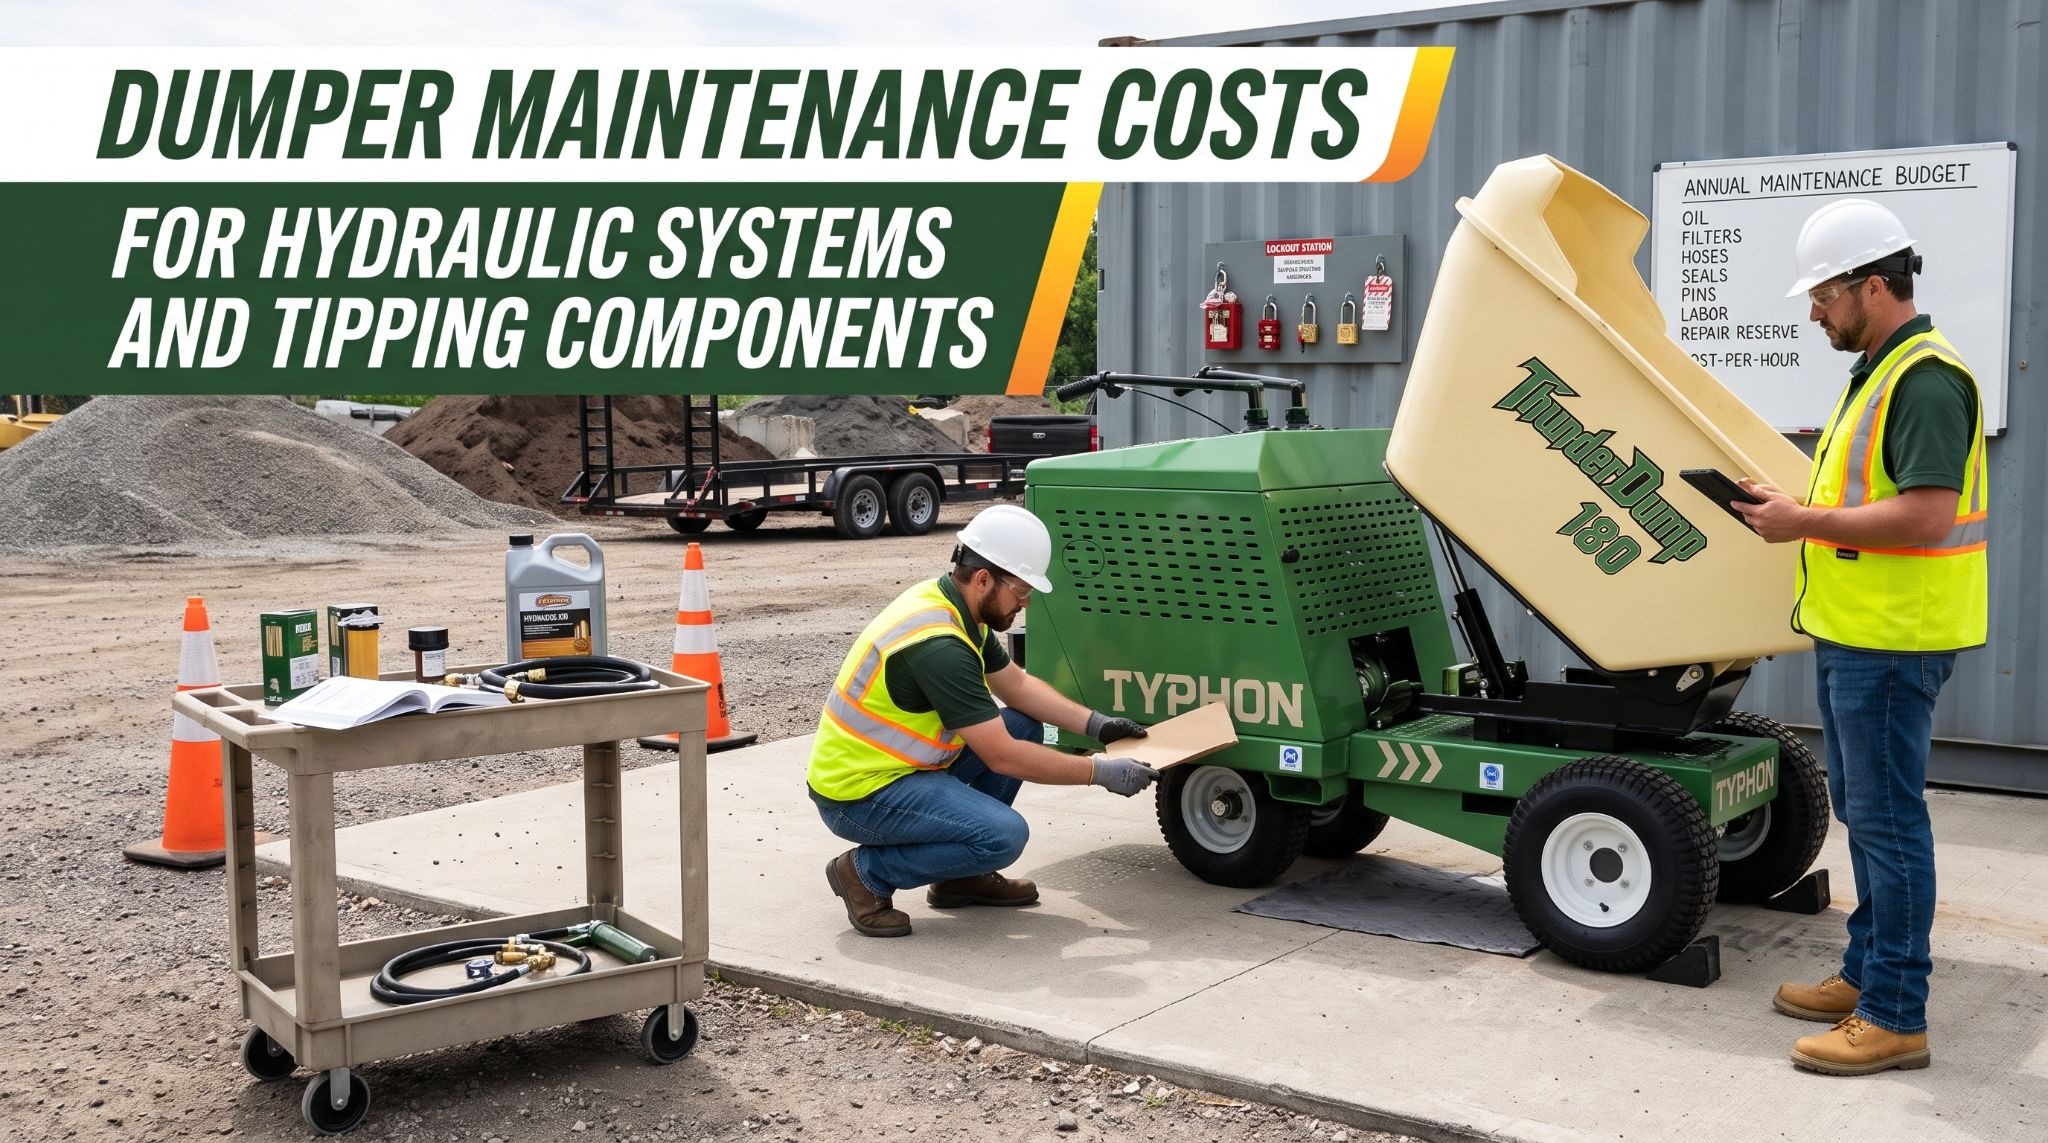
Dumper Maintenance Costs for Hydraulic Systems and Tipping Components
A dumper earns its keep one load at a time. It carries soil out of a backyard excavation, delivers stone to a patio base, and tips concrete into a footing form. Each cycle ends with the same action: the hydraulic system raises the hopper and the tipping components pivot it to discharge the load. When those systems work properly, crews rarely think about them. When they don’t, the costs build quickly. A weeping tipping cylinder becomes a full reseal. A chafed hose bursts in the middle of a pour. A dry hinge pin wears its bushing oval until the hopper rocks and binds. A machine sitting in the shop also stops earning, which can cost more than the repair.
Hydraulic and tipping components are among the most predictable maintenance expenses on a dumper, and among the most expensive when they’re neglected. Fluids, filters, seals, hoses, pins, and bushings all wear at rates that depend on how the machine is used and how well it’s serviced. Contractors who understand these costs can plan for them, reduce unplanned repairs, and price jobs to cover the true cost of running the machine.
Hydraulic Cylinder and Seal Replacement on Tipping Cylinders
The tipping cylinder does the heaviest hydraulic work on a dumper. It raises a loaded hopper on every discharge, often hundreds of times per week, and it takes shock loads when sticky material releases suddenly or when the machine travels over rough ground. High-tip dumpers add lift cylinders that raise the hopper before tipping, and swivel-tip models add a rotation cylinder or motor. All of these components depend on seals that hold pressure and keep contamination out.
A typical tipping cylinder uses a rod seal, a wiper seal, a piston seal, wear rings, and static O-rings. External leakage usually appears at the gland, where the rod exits the cylinder. Watch for oil dripping from the gland, a wet ring left on the rod after each stroke, or oil-soaked dirt building around the cylinder head. Internal leakage, where oil slips past a worn piston seal inside the barrel, is harder to see. It shows up as a hopper that drifts down when raised, slow or weak tipping, or a cylinder that runs warmer than normal. Control valve faults can produce similar symptoms, so a qualified technician should confirm the cause before parts are replaced.
Early action keeps these costs down. A small gland leak caught during a daily walk-around usually means a straightforward reseal. The same leak ignored for weeks lets grit past the wiper, scores the rod, contaminates the oil, and spreads wear to the pump and valve. Inspect rods for dents, scratches, pitting, and flaking chrome every shift, using a flashlight rather than your hands. Park with the hopper fully lowered to retract the rod and protect it from corrosion and impact. Wash off mud, concrete splatter, and corrosive material at the end of the day, since dried concrete on a rod can tear seals on the next stroke.
Key takeaway: Seal kits are inexpensive, but cylinder removal and labor drive reseal costs into the hundreds of dollars, and rod damage pushes them higher. Inspect rods and glands daily, report leaks and drift early, and park with the hopper lowered to protect cylinder rods.
Hose, Fitting, and Connection Costs
Hydraulic hoses on a dumper live a hard life. They flex every time the hopper tips, vibrate with every bump in the route, and sit close to mud, rock, and concrete. On swivel-tip and high-tip models, they also bend through larger ranges of motion. Abrasion, heat, ultraviolet exposure, and repeated flexing gradually break down the outer cover and reinforcement layers until the hose leaks or bursts.
Fittings and connections cost little individually but cause a large share of leaks. Loose fittings, damaged threads, cracked adapters, and worn O-rings can all seep oil. Over-tightening can crack fittings or crush sealing surfaces, so always tighten to the manufacturer’s specification. On machines with auxiliary or attachment couplers, dirty coupler halves are one of the most common entry points for contamination. Wipe both halves clean with a lint-free cloth before every connection, and fit dust caps on open couplers.
Proper routing and protection prevent most premature hose failures. Inspect hoses during every walk-around for scuffed or worn covers, exposed wire reinforcement, cracks, blisters, bulges, kinks, and oily residue at crimped ends. Confirm that clamps, guards, and protective sleeves are in place. During a slow function check from the operator’s position, with the area clear, watch whether any hose stretches, pinches, or rubs through the full tipping range. When replacing a hose, match the original pressure rating, size, length, and fitting type, and route it exactly as the original with all clamps and sleeves reinstalled. Replacing a $15 sleeve or a missing clamp is far cheaper than replacing the hose it protects.
Key takeaway: Hose assemblies cost tens to hundreds of dollars each, but failures add downtime, cleanup, and fluid costs. Inspect hoses and fittings daily, keep clamps and sleeves in place, tighten fittings to specification, and replace hoses with assemblies that match the original.
Tipping Hinges, Pins, and Pivot Maintenance
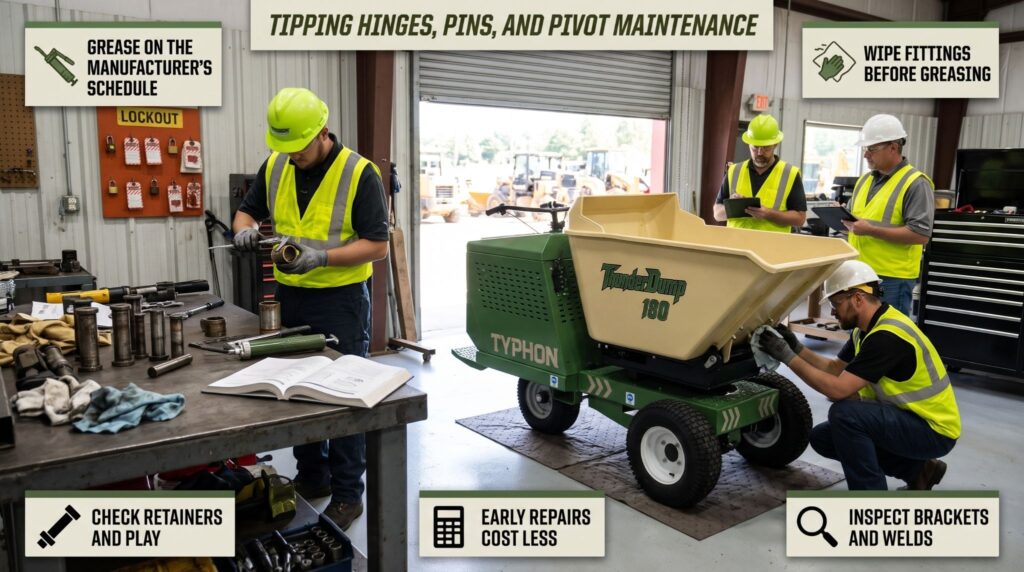
The hopper pivots on hinges, pins, and bushings that carry the full weight of the hopper and its load every time it tips. High-tip dumpers add lift arm pivots, and swivel-tip models add a slewing ring or turntable bearing. These components move under heavy load in dirty conditions, which makes lubrication and inspection essential.
When pivots are well greased, pins and bushings wear slowly and evenly. When they run dry, metal grinds against metal, bushings wear oval, pins gall, and play develops at the joint. That play lets the hopper rock and twist during tipping, which side loads the tipping cylinder and stresses hinge brackets and welds. Early signs include squeaking or grinding during tipping, visible movement at the hinge, uneven or jerky tipping, shiny wear marks, and fresh metal particles around the pivot.
Pivot repair costs vary with how early wear is caught. A replacement pin and bushing set might cost roughly $50 to $300 per joint in parts, with labor adding a few hundred dollars depending on access. If wear goes unchecked until bores are elongated, the repair may require line boring, welding, or bracket replacement, which can climb into the thousands. Swivel bearings and slewing rings are more expensive still, so their lubrication deserves particular attention on swivel-tip machines.
Follow the lubrication schedule in your operator’s manual. Many dumper hopper pivots call for greasing daily or every 10 hours of operation, while others have longer intervals. Use the specified grease, wipe each fitting clean before greasing so dirt isn’t pushed into the joint, and pump until fresh grease appears where the manual directs. Replace blocked or damaged grease fittings promptly, since a fitting that won’t take grease leaves the joint unprotected. Check pin retainers, keeper plates, and bolts at the same time, because a missing retainer can let a pin walk out of its bore. Inspect hinge brackets and nearby welds for cracks, and report any damage before the machine returns to work.
Key takeaway: Well-greased pivots wear slowly and cost little to maintain, while dry pivots lead to worn bushings, galled pins, and expensive bracket repairs. Grease on the manufacturer’s schedule, wipe fittings first, check retainers, and report play or cracks early.
Operating Conditions That Increase Repair Costs
Two identical dumpers can produce very different maintenance bills depending on how they’re used. Operating conditions and operator habits have as much effect on hydraulic and tipping costs as the machine’s design.
Overloading is one of the most expensive habits. Rated payload is a firm limit, and hopper volume never defines safe weight. Wet concrete, saturated clay, wet sand, and dense crushed stone can exceed the payload rating long before the hopper looks full. Every overloaded tip forces the cylinder to work at higher pressure, loads the hinge pins beyond their design, and strains the chassis, axles, and tracks or tires. Over time, that shortens seal life, accelerates pin and bushing wear, and can crack brackets and frames. Overloading also reduces stability and increases stopping distance, which creates safety risks as well as repair costs. Estimate each load from realistic material density, and fill the hopper partially with dense or wet material.
Rough operation multiplies wear. Traveling fast over uneven ground bounces the loaded hopper against its pivots and stops. Dropping material into the hopper from height shocks the chassis and hinge. Tipping sticky material that releases suddenly jolts the cylinder and structure. Holding the tipping control against the end of the cylinder’s stroke forces oil over the relief valve, turning hydraulic power into heat that degrades oil and hardens seals. Smooth, controlled operation costs nothing and reduces wear throughout the machine.
Contamination drives many of the most expensive repairs. Mud, dust, concrete slurry, and water attack exposed rods, pivots, and hydraulic connections. Dirt entering through an open fill cap, a damaged breather, worn wiper seals, or dirty couplers circulates through the pump, valve, and cylinders, scoring surfaces and wearing seals. Water in the oil promotes corrosion and sludge. Wash machines at the end of the shift, especially after concrete work, keep fill caps closed, replace breathers on schedule, and clean couplers before every connection. Oil analysis can reveal rising particle counts or water content before damage becomes visible.
Heat and neglect complete the picture. Packed cooling fins, low oil levels, and continuous high-cycle work push hydraulic temperatures up, which thins the oil and shortens seal life. Skipped greasing, missed filter changes, and ignored small leaks allow minor issues to grow into major repairs. A machine that’s regularly overloaded, run hard, and serviced late will almost always cost far more to maintain than one operated within its limits and serviced on schedule.
Key takeaway: Overloading, rough travel, shock loading, contamination, heat, and skipped service all raise repair costs. Calculate loads by weight, operate smoothly, wash machines regularly, keep contamination out, and service on schedule to keep costs predictable.
Building a Practical Maintenance Budget
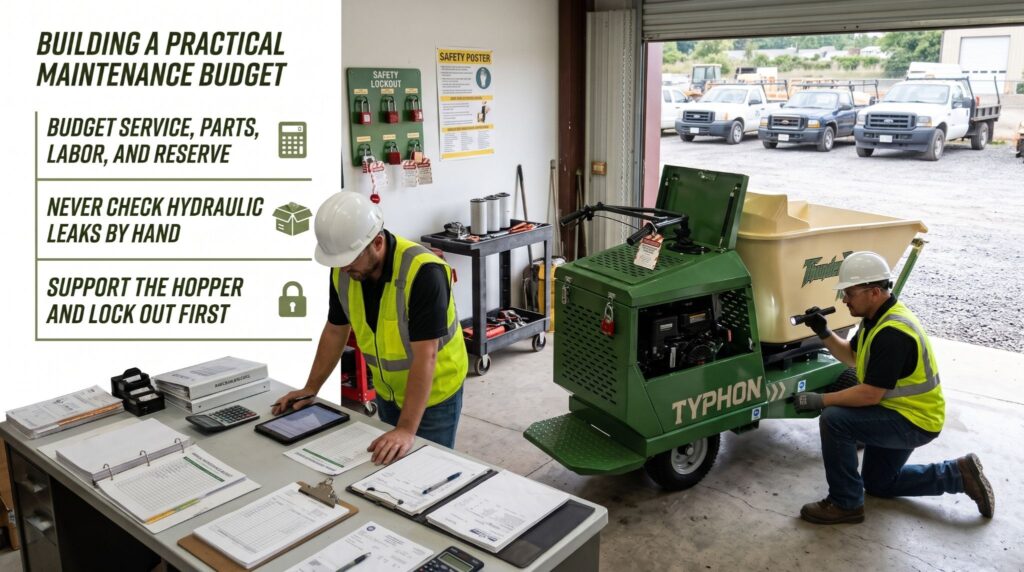
A maintenance budget turns unpredictable repair bills into planned operating costs. It also helps contractors set rental or job rates that cover the true cost of running each machine. The most useful budgets combine scheduled service, expected wear parts, and a reserve for unplanned repairs, then express the total as a cost per operating hour.
Records make the budget accurate. For every machine, log operating hours, inspections, fluid and filter changes, oil sample results, parts replaced, labor hours, and downtime. Note the cause of each repair where it’s known. After a season, those records show which costs are routine, which are growing, and which machines or work types consistently cost more. A dumper whose hose replacements double year over year may have a routing problem. One that needs frequent reseals may be working in heavy concrete without daily washdown, or it may be regularly overloaded.
Use the data to make better decisions. Compare actual costs with your budget each quarter and adjust the per-hour figure when rates or workloads change. Plan larger services during slow periods to reduce downtime. When repair frequency and costs on an aging machine begin to approach the cost of replacement, the records give you a clear basis for deciding whether to rebuild, sell, or replace it. Complete service history also supports warranty claims and strengthens resale value, since buyers can see that the machine was maintained properly.
Key takeaway: Build the budget from scheduled service, wear parts, labor, and a repair reserve, then express it as a cost per operating hour. Record every service, part, and repair, review costs regularly, and use the data to plan service, set rates, and make replacement decisions.
Safe Inspection, Leak Checks, and Lockout
Every maintenance task on a dumper’s hydraulic and tipping systems involves stored energy. Pressurized oil sits in the hoses and cylinders, and a raised hopper holds its weight on trapped oil. Safe habits protect technicians and operators while keeping inspections thorough.
Never use your hand to search for a hydraulic leak. Fluid escaping through a pinhole under pressure can penetrate skin and cause an injection injury. The wound may look like a small puncture at first, but it’s a medical emergency that requires immediate surgical treatment. Use a piece of cardboard or wood held near the suspected hose, fitting, or gland, wear gloves and eye protection, and keep your face and body out of line with the leak point. If anyone is struck by escaping hydraulic fluid, get emergency medical care at once and tell medical staff it’s a hydraulic injection injury.
Before any inspection, cleaning, greasing beneath the hopper, or repair, follow a complete lockout sequence. Park on firm, level ground away from edges and traffic. Lower the hopper fully, or if it must remain raised for access, engage the manufacturer’s approved hopper support prop. Apply the parking brake, chock the wheels where required, shut down the engine, and remove the key. Relieve hydraulic pressure as the manufacturer instructs, then apply your personal lock and tag according to your site’s lockout procedure and verify isolation before starting work. Allow hot oil and components to cool before opening fittings or filter housings.
Never work beneath a raised hopper held only by hydraulics, and never rely on improvised blocking. Leave cylinder rebuilds, pump and valve repairs, and pressure testing to qualified technicians using the manufacturer’s procedures and specified parts. After any repair, check for leaks with cardboard and cycle the tipping function slowly with the area clear before returning the machine to work. Remove any dumper with faults in hydraulics, the hopper, brakes, or safety devices from service until it’s repaired, and allow only trained, authorized operators to run it.
Key takeaway: Check leaks with cardboard or wood, never your hands, and treat any injection injury as a medical emergency. Lower or support the hopper, lock out, and relieve pressure before every service task, and never work beneath a raised hopper held only by hydraulics.
Conclusion
Dumper maintenance costs for hydraulic systems and tipping components are largely within a contractor’s control. Fluid, filters, and breathers are modest, predictable expenses that protect far more costly pumps, valves, and drive motors. Tipping cylinder seals and hoses wear at rates that depend on cleanliness, routing, and operating habits, and catching leaks early keeps repairs small. Hinges, pins, and pivots need regular greasing and inspection to avoid expensive bushing and bracket work. Overloading, rough operation, contamination, and skipped service are the conditions most likely to turn routine maintenance into major repair bills.
Frequently Asked Questions
What are the most common dumper hydraulic maintenance costs?
The most common costs are hydraulic oil, filters, tank breathers, hose and fitting replacement, and tipping cylinder seal repairs. Oil and filter service on a compact dumper typically costs a few hundred dollars per year, while a cylinder reseal often runs $300 to $900 with labor. Pump, valve, or drive motor repairs are less frequent but can cost $1,500 to $5,000 or more. Costs vary by machine, region, and labor rates, so confirm current prices with your dealer.
How often should dumper tipping components be inspected?
Inspect tipping components during every pre-operation walk-around, checking cylinder rods, glands, hoses, hinge pins, retainers, and brackets for leaks, wear, play, and cracks. Grease hopper pivots at the interval the manufacturer specifies, which is often daily or every 10 operating hours. Follow the operator’s manual for deeper scheduled inspections, and report unusual noise, movement, or uneven tipping right away.
Does overloading increase dumper maintenance costs?
Yes. Overloading forces the tipping cylinder to work at higher pressure, loads hinge pins and bushings beyond their design, and strains the chassis, axles, and tracks or tires. Over time, that shortens seal life, accelerates pivot wear, and can crack brackets and frames. Overloading also reduces stability and braking performance. Calculate each load from material density and keep it within the rated payload.
How can contractors reduce dumper repair expenses?
Follow the manufacturer’s service intervals, use only specified fluids and filters, and keep contamination out by washing machines, closing fill caps, and cleaning couplers. Grease pivots on schedule, inspect hoses and rods daily, and address leaks early. Operate within rated payload, travel smoothly, and avoid holding controls at the end of the cylinder stroke. Track every service and repair so recurring problems can be identified and corrected.